G Scale Model Train Forum banner

First Live Steam engine. 2.5" gauge

1 reading
4.7K views 38 replies 12 participants last post by  victor222444  
#1 ·
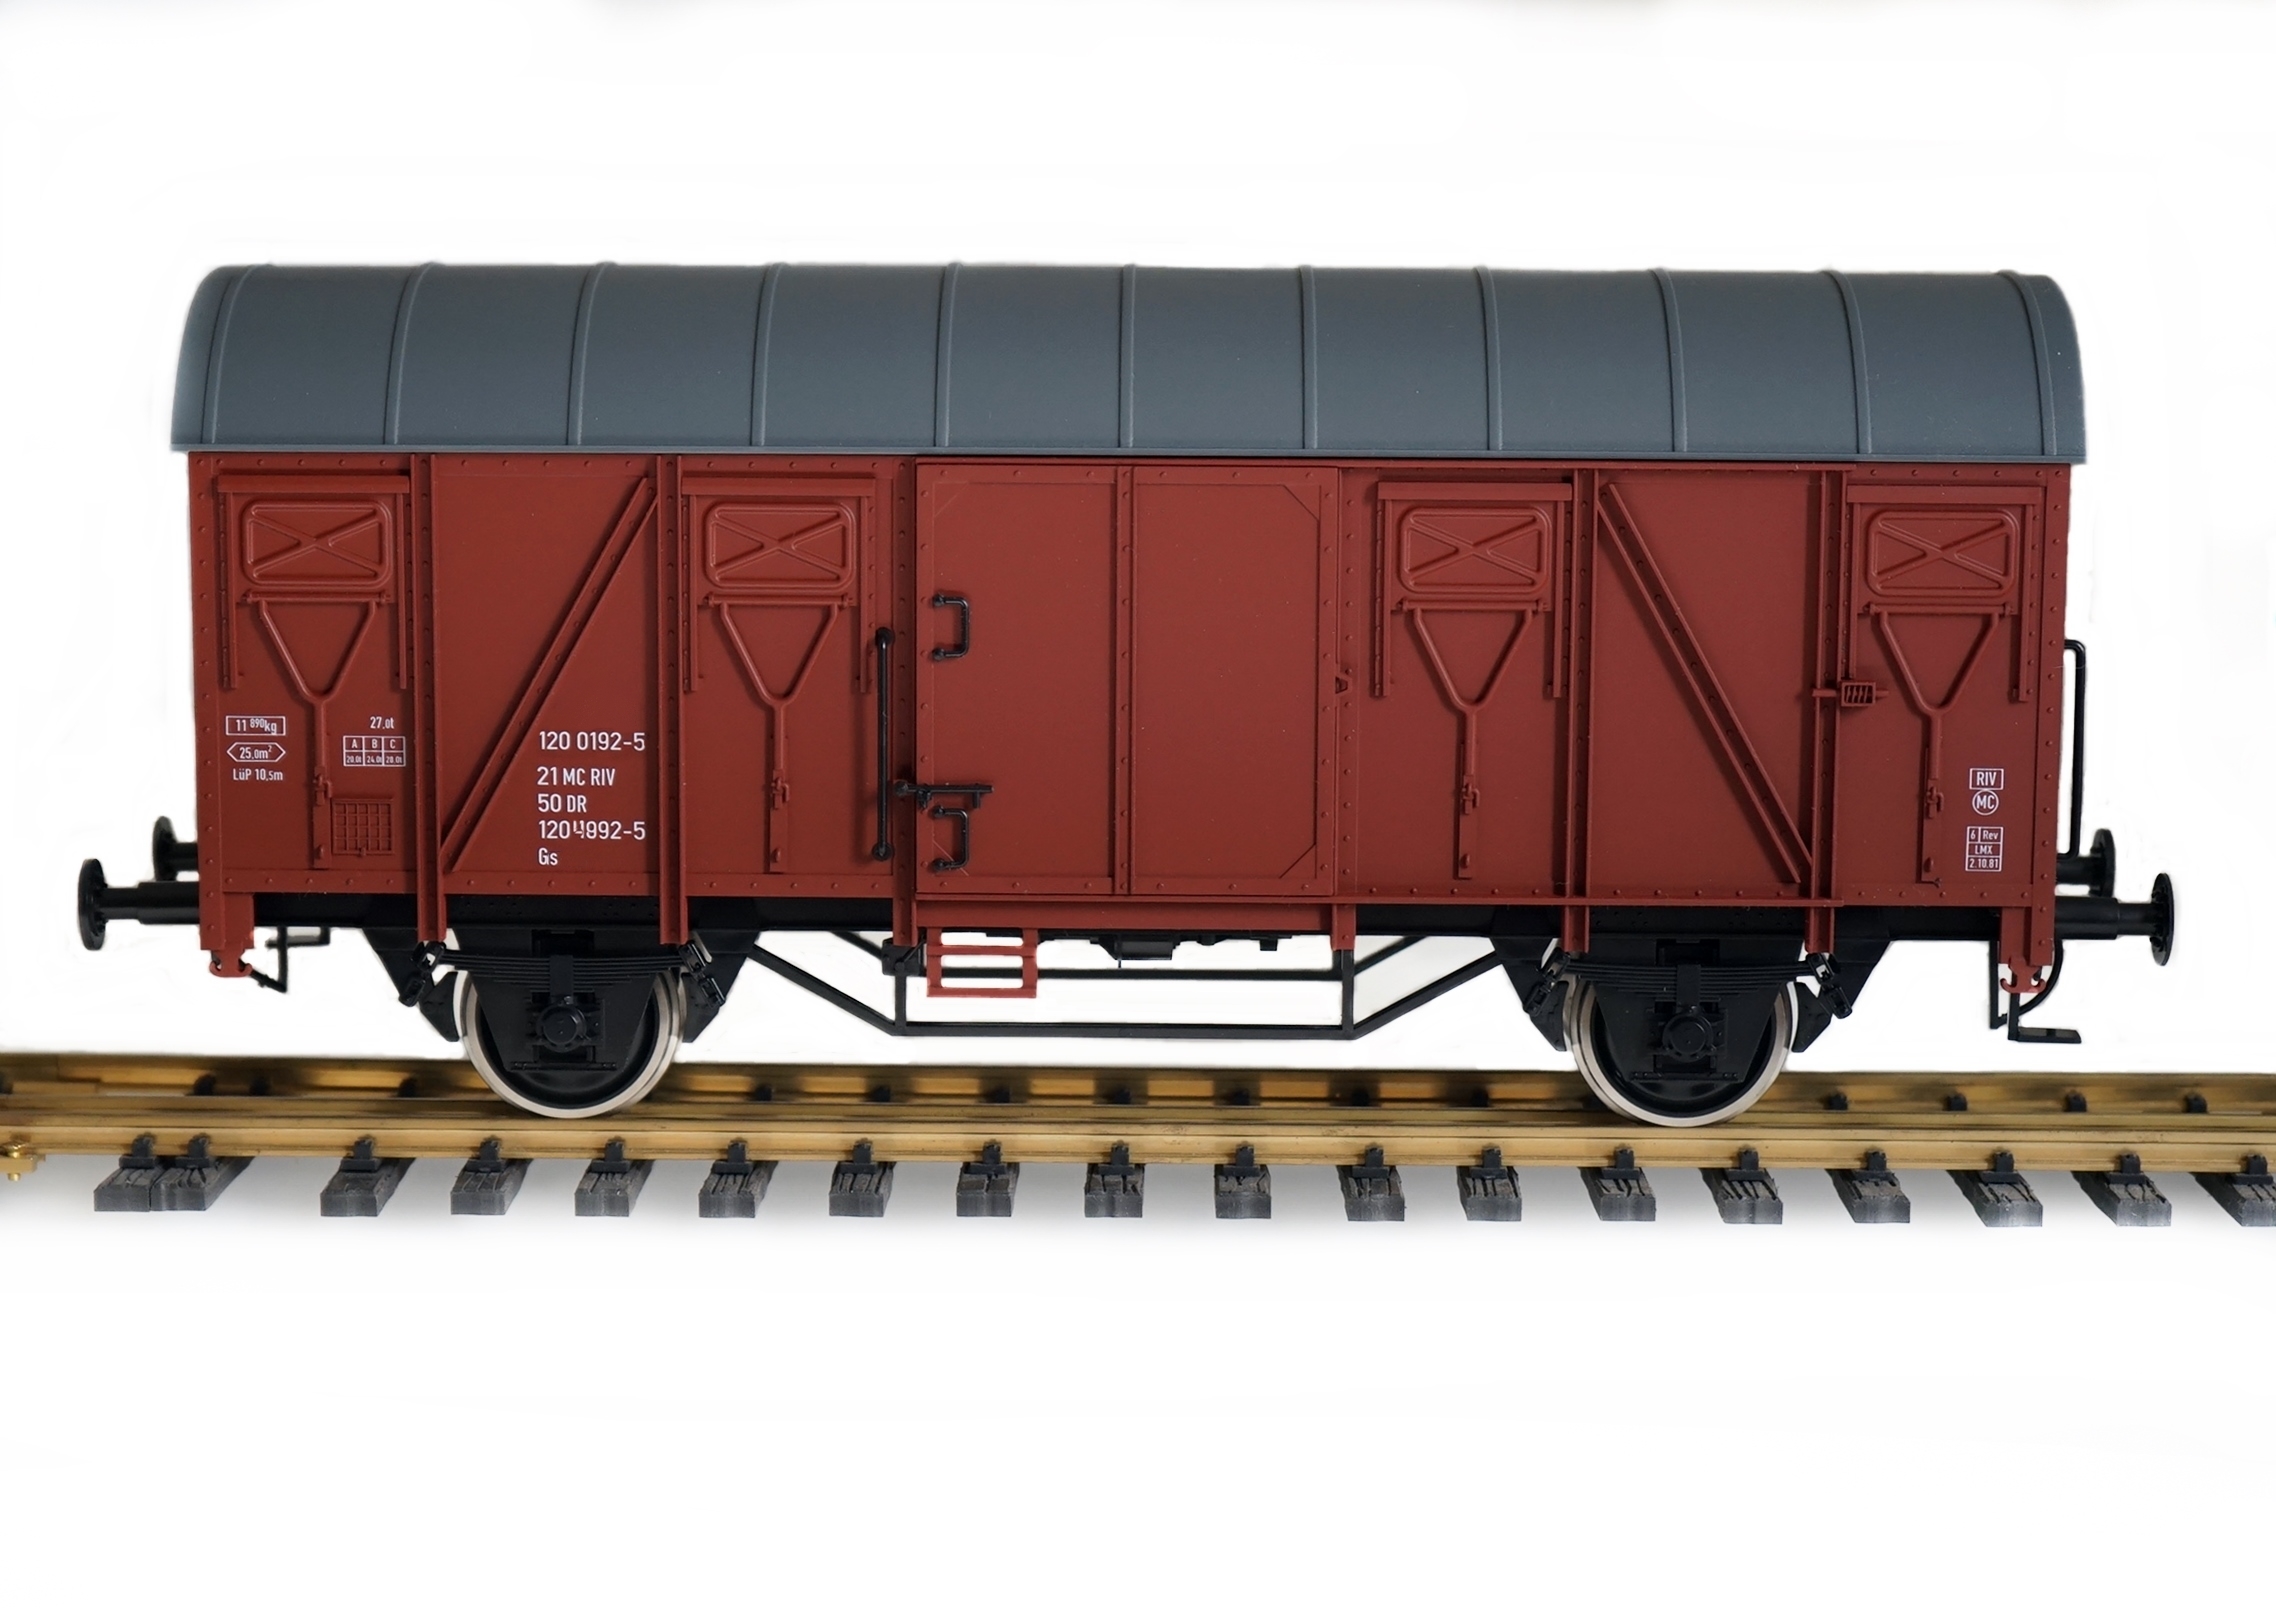
Hello all! Just acquired my first live steam. Pretty used and dirty. Was told that it has been a long time since this has run. But at least everything spins and moves as it should.

Looking for some guidance as to how to go about restoring this. Some of the cab body is bent and needs to be straightened, its all a little dirty so needs some cleaning of course. Smoke box door isn't exactly closing right. Other than that, I don't know much so this is going to be a learning experience and i'm happy to dive in. Below are some pictures.
Image

Image

Image

Image

Image

Image
Image
 

Attachments

#2 ·
Hi Victor,
Looks like it 'could' be a L.B.S.C designed "Purely Grange" locomotive.
If so, it would mean that you can probably still get copies of the plans, in case you need any new parts made.
When you say 'restore', are you intending to run this?
If so, I would recommend finding a local Model Engineering group, in order to get the boiler tested.
Or maybe you just want it to sit on the shelf.
Cheers,
David Leech, Canada
 
#4 ·
I fear that you will need to start by completely taking it apart... :eek:

First check for missing/broken parts. If the cab is bent it could have fallen and more then just some plate be bent. If it has been very long on the shelf, then probably the boiler will need to be taken off for its test. It depends on the local rules but I would do it anyway. You'll have to check each and every valve and pipe junction for being tight, defective packing. When you have taken off the boiler you can check the chassis and running works by running it on air.

So quite a job. There are a few restoration threads on the forum to get an idea.
 
#10 · (Edited)
2.5" gauge is not common in the USA, maybe one of the guys here knows of a club track. It is known in the UK as Gauge 3, and is one of the original gauges, along with Gauge 1, that was proposed in 1895. For folks using 1:22.5 scale, it is exactly standard gauge, and in the UK there are several vendors supporting Guage-3.
 
#13 ·
Pete, this looks like it is the regular engineering scale 2 1/2" gauge loco, not Gauge 3, which has finer detail.

The heavy detail, undersize drivers and plethora of miniaturised controls, added to the embossed GWR logo on the tender sides and cast appearance say commercial model to me, rather than any kind of home build. I'll post a couple of pics on my contact pages here in UK and see if we can come up with a maker.

2 1/2" is classed as the smallest 'passenger-hauling' scale model engineering gauge in the UK, and by a lucky coincidence just happens to be the actual rail gauge gap between 7 1/4" and 5" gauge rail lines, leading to some interesting sights on occasions.

As this loco seems to have been advertised as being 2 1/2" gauge, I'd take it as such. If you look at Garden Railway Specialists Gauge 3 model of a similar type of loco, you'll see what I mean.
 
#15 ·
2 1/2" is classed as the smallest 'passenger-hauling' scale model engineering gauge in the UK, and by a lucky coincidence just happens to be the actual rail gauge gap between 7 1/4" and 5" gauge rail lines, leading to some interesting sights on occasions.
Tac,
Not too sure that I understand your math.
Assuming that the 5" is within the 7 ÂĽ" track, then 7 ÂĽ" minus 5" equals 2 ÂĽ" and then less the thickness of the rail. maybe ÂĽ" equals a 2" gauge.
Have I missed something?
Besides in some parts of the US, it is 7 ½" gauge, but that still only leaves a 2 ¼" gauge, unless there is the 4 ¾" gauge being used!
Cheers,
David Leech, Canada
 
#14 · (Edited)
Okay - I've posted over the way and gotten the expected resplones VERY quickly. Here -


Active
=AZU_l0QXeQauU-wJW3Skz-px4VYqjc_hXoDlKTs4K3tiIlfWMO6eKKM-sj5CjGn_Cb2VJut-fevKWFvLWp-usMFcrvcmCP43-EdUMK0zOI6YTMZzNuAjyO4Rb9V2nw2CYI_iH7QTz0QCfb-QJPL-yopsLR-Xf10FRf7F2lFbFdKw4g&tn=R]-R']=AZU_l0QXeQauU-wJW3Skz-px4VYqjc_hXoDlKTs4K3tiIlfWMO6eKKM-sj5CjGn_Cb2VJut-fevKWFvLWp-usMFcrvcmCP43-EdUMK0zOI6YTMZzNuAjyO4Rb9V2nw2CYI_iH7QTz0QCfb-QJPL-yopsLR-Xf10FRf7F2lFbFdKw4g&tn=R]-R']Matt Scrutton

Admin
Top contributor
Its an LBSC designed 2.5 inch gauge "Purley Grange". No manufacturer, its a homer

..............................................................................................................................................


Active
=AZU_l0QXeQauU-wJW3Skz-px4VYqjc_hXoDlKTs4K3tiIlfWMO6eKKM-sj5CjGn_Cb2VJut-fevKWFvLWp-usMFcrvcmCP43-EdUMK0zOI6YTMZzNuAjyO4Rb9V2nw2CYI_iH7QTz0QCfb-QJPL-yopsLR-Xf10FRf7F2lFbFdKw4g&tn=R]-R']=AZU_l0QXeQauU-wJW3Skz-px4VYqjc_hXoDlKTs4K3tiIlfWMO6eKKM-sj5CjGn_Cb2VJut-fevKWFvLWp-usMFcrvcmCP43-EdUMK0zOI6YTMZzNuAjyO4Rb9V2nw2CYI_iH7QTz0QCfb-QJPL-yopsLR-Xf10FRf7F2lFbFdKw4g&tn=R]-R']Jay Kovac

Top contributor
PLS has an active 2.5" /3.5" amd 4.75" tri gauge loop

PLS is Pennsylvania Live Steamers.

David Morgan-Kirby and I both strongly recommend that you get into Gauge 1 as soon as you are able - it has a large following in the US with Ernie Noah as the main man. There is a thriving association of world-wide members with folks on every continent. Membership is reasonable, and the seasonal magazine is a VERY valuable hard copy document to retain and use.

2 1/2" gauge is a very lonely row to hoe in the US of A.
 
#17 ·
Hello Victor,

-- Looks like you have acquired a good steam project. The 4-4-0 looks well-used, but also well cared for, and likely is in pretty good shape overall.
-- It will require applying a lot of patience & perserverance in the restoration..... You have provided some very interestng Photos!
-- The restoration will be a fun project, keep track of all the parts, and don't rush it. Ask for help when you need it.
-- If you do not have previous experience with small scale coal-fired steam locomotive operation & maintenance, I would strongly recommend joining a local club who hopefully has members working in the same Scale and 2-1/2" Gauge. Take much advantage of this, they will undoubtedly offer some friendly & lengthy good steam advice, and will hopefully be where you can obtain lots of hands-on experience with small scale coal-fired steam locomotive operation and maintenance before you "Dive-In" heavily on the restoration project. Those members will be of invaluable offered assistance, use their help.
-- In studying your Photos, one thing in particular I noticed was: The Throttle ("Regulator") Handle was missing from the Regulator Control Mount Boss & Stem in the center of the Backhead..... and I just happened to notice a loose Part which may actually be the Regulator Handle lying just next to the Tender Tank Lid (on the right side..... the small handle with the square opening on one end), which just may be the correct part (?).

"Vaporo In Fraternitate!" -- Ken Scheer Delta, CO
 
#18 ·
Victor,
-- Incidentally, I also noticed that the Pressure Gauge in the Cab is "Red-Marked" at @ 25 (and I assume that Gauge to be calibrated in PSI ). 25 PSI would be a somewaht low operating pressure for a 2-1/2" Gauge Locomotive..... in my experience with 3-1/2" Gauge Locos, the nominal "Working" operating PSI was 90 PSI (in most cases), and my memory is a bit hazy, but I seem to recall that the nominal "Working" PSI for 2-1/2" Gauge Locos was around 60 to 70 PSI..... (?).
-- Another huge and very good resource for "early" 2-1/2" Gauge and 3-1/2" Gauge Locomotives and small scale live steam History and gobs of Information is: www.ibls.org This is: International Brotherhood of Live Steamers (IBLS-wiki Website).
Regards! -- Ken Scheer Delta, CO
 
#19 ·
This VERY useful post has just appeared on the other forum -

The National 2½" Gauge Association may be helpful, they offer a booklet for Purley Grange made up of compilations of LBSCs articles in ME*. For copyright reasons you might have to join though. https://www.n25ga.org/publications.html

*Model Engineer - THE monthly magazine for engineering in miniature. That, BTW, is the name of another UK-produced magazine. :)
 
#20 ·
Well, some time has passed. I can finally spend more time on this project. Currently just disassembling most of the locomotive to paint. While i like the original paint, it is done poorly as if they used a paintbrush after it was put together. So you have some parts with paint on them that shouldn't have it and small details that they tried to leave as bare metal which is nice but has splotches of paint on them.

Additionally, some straightening of the body pieces as well as some hardware replacement. Lots of the bolts on this seem to be crudely made and have off center heads, poorly cut slots, or are too soft of metal for comfort.

After much time disassembly, I finally get to this point below. Anybody have any good sources on the timing of the valve gear? Or if I just disassemble the rods and let the cylinder be, it should remain in time once I put it back together?
Image


Also, I'm looking into redoing what i believe is called the lagging on the boiler and cylinders. I may want to get a new boiler done anyway since this one will most likely not be able to pass a boiler inspection if it is as old as I think it is. From what I've read up on, the original LBSC boiler in the drawings won't pass.

Also, looking for some information on the smokebox. When taking apart, looks like the edges where the smokebox and the boiler meet had some sort of sealant? Had the same or similar stuff around the pipes to the cylinders. Can anybody confirm what it may be and suitable replacements for it?
Image


This is a first time for me so a big learning curve learning about the construction of this :) Please be nice. Always happy to learn.
 
#21 · (Edited)
I really like the looks of that locomotive! Congratulations!:)
2,5" gauge is called "Spur 2" in Germany, with a track gauge of 64mm, associated with 1:22,5 scale for standard gauge prototypes.

It actually has a growing following in Germany. There are manufacturers of track, so you could build your own home track. One manufacturer is Heyn, Tracks gauge 64 mm

Zenner Gartenbahn also offers wagons. Of particular intrest are those that are for transporting prototype narrow gauge 1m in 1:22,5 which is 45mm, and well we have a pleothora of such models, as we all know.

So some operate layouts with dual track gauge 64 & 45mm, to model combined operations of narrow and standardgauge in 1:22,5.

Strictly speaking 2,5" ought to be 63,5mm, but I can't imagine the difference - if one actually exists - to 64mm can matter, other than possibly in switches. But then actually the back-to-back measure of wheelflanges is the critical measure.

Did you try running it on air before disassembly? I obviously don't know how smoothly the machinery runs, but I can easily imagine a lot of old oil having dried in and making everything run with a lot of resistance. So testing to run on air actually might not give any fair asessment of state of affairs.

Personally, I would pressure test the boiler without any connections. If it works, well then I see no reason to make a new one - except if club regulations prohibit the use, and you aren't content running on a possible layout of your own.
 
#22 ·
Awesome. Thanks for the recommendation on the tracks. Have only been able to find one other company so far which is what the loco came with when i bought it.

And i actually did run it on air. Despite the looks of all the old grime on it, it runs very smoothly. I'll see if I can record a video soon and upload sometime later now that the entire valve gear is visible. There is some small amount of play in the back wheels and the rods but it seems to be normal.

And the reason for needing a boiler certificate is that I don't have a house yet. So I'm limited to just the clubs. Really just one that's in my area. Either way, seeing if the boiler can withstand higher pressures would be a good first step since according to SCR Steamer, should be operating at higher pressures.
 
#27 ·
Looks in pretty good shape. All the parts seem to be there. Run the chassis on air first. See how it goes. The old timers used graphite yard for packing and piston "rings". Some of those may have deteriorated. Contact your local club before the boiler test. You will probably have to provide some fittings. They would have the usual 1/4" national tapered pipe fittings.

Tacfoley mentioned Model Engineer magazine. The Sherline Museum (Craftsmanship Museum) in Carlsbad California has every edition of ME from the start. They sent me a copy of LSBC's "Chingford Express" article. Very helpful folks. If you know the dates of the article, I think they would help
 
#30 ·
Well, after some time, I have figured out all of the odd little things about this locomotive. Some bolts were broken. Some were in difficult to reach areas(no idea how they managed to tighten them in such places). Some pins had corroded badly to the point of needing heat to remove them. Pretty nice process discovering what makes this thing run.

The plan at this point is to fully strip the remaining paint on the parts, degrease, fix some items and begin the repainting process. Will definitely need to either find matching bolts or buy a lathe to remake the sheared ones.

Is there a reason why the bolts appear to be made out of a very soft material? Seams like the majority of the bolts are soft to the point that simply twisting the flathead screwdriver bites into the metal. Should I replace all bolts with a metal that is harder? Somebody clearly tried to take apart the right cylinder and snapped a bolt inside of it.
Image

Image

Image
 
#31 ·
It looks like you are doing quite the job of restoring the locomotive. I am enjoying seeing your progress.

You may have already, but make sure you note where the pieces of the running gear come from. Steam locomotives, even full sized ones, often have items that should be the same that aren't. A rod from the right side may not fit properly on the left side, or an eccentric strap may not fit any other eccentric without binding or being too loose.
 
#33 ·
Well, life got busy. As usual. Anywhere, here's a couple of photos and some notes for update.

1) Just about every part has been stripped and cleaned from rust and the process of painting has begun.
2) There are a couple of really rusted bolts on for the superheater that I found broken off. What is the best way to go about removing these? The remaining bolts seem stuck in there and don't move even with some pb blaster. Assuming its fully rusted inside from what I can see.
3) Few cracks in the body work. Hoping to buy a torch soon and some brazing sticks in order to solder these parts together.
4) Decided to try on making this look like Betton Grange. Will be adding details and changing as needed.
5) Anybody ever try and add brakes to a 2.5 Gauge Loco? I see this very interesting part finished King George in 2" Gauge with what appears to be functioning brakes. How are the brakes from the Loco connected to the tender? Still have much to learn about this. I'm more after the realism than the functionality.
Image

Image
 
#34 ·
Here is my 2.5in gauge LBSC Dyak. So your not alone here with that scale of an engine. I just had mine up and running on coal here recently. Cinder Sniffers down near Cincinatti OH on the Indiana side also has 2.5in gauge I believe. I am adding an outside 3rd rail to my existing 45mm G scale raised loop for scenic running. There is a gauge 3 society as well and they have links and resources if you need the plans for that locomotive. LBSC designs are solid and well designed models designed to steam well and be able to pull people riding cars behind it. The gauge is seeing a renewed interest, mostly in the UK but that helps with freight and passenger car kits. Mike
 
#35 ·
#36 ·
Okay so a few new things. Started getting the fittings put together in order to get everything ready for a hydrotest and then have it under steam.

Found this little bit on the right side of the loco. Not in any of the drawings I have LBSC. But due to the placement and piping, i'm assuming it's the injector. I wasn't able to find much other than people saying that LBSC's injector designs aren't entirely the best. So we'll see how this functions. Definitely due for a good cleaning.
Image

Image

Again, referencing pictures and drawings, the green painted part of the injector should connect to the Tender? I believe that the pipe with a valve fitted to it on the tender is supposed to be the supply for the injector as seen below in my notes along with labels to the rest of the lines. Hope I got them correct. Can't quite connect them at the moment since I have no tubing.
Image
Image
Image

Lastly, I've been wondering how to get water out of the boiler after a steaming and I'm assuming that's what this plug is for at the bottom. I'm hoping to install a valve there of sorts in order to make opening it much easier. Not sure if that is standard practice. It was ridiculously tight in there. So i'm wondering if it was meant to be opened. The bottom of the glass gauge valve does have a knob to open up to let water drain, however, seems too high.
Image

Water lines under loco and tender if somebody is curious about them.
Image

Image
Image
 
#37 ·
Tender design is very similar to mine, same for the water lines to and from the tender. The "injector" looks like a common clack valve seen in gauge one locos. Held shut by steam pressure to act as a one way water valve. Tend to weep when engine not in use but water in boiler and can weep under steam sometimes as well. Requiring cleaning and reseating or purple nitrial(sp) ball in them vs stainles/metal. Looking good, the valve on the bottom of the sight glass to is "blow down" the glass to get an accurate reading. I suspect that bung at the bottom of the firebox, assuming its a "wet" firebox would be the drain to remove all water from the boiler, along with any sediment ect. yes a plumbed in valve someplace would be nice so you can open that and fully blow down the boiler at the end of the run with the remaining steam pressure.
 
#39 ·
Hey Mike! Apologies for a late response. I don't check messages too often. And thanks for the heads up but no interest on my end atm. Just got myself a lathe and will be making some upgrades and tooling for it to help in the Grange. May end up making some boiler fittings since some of the fittings are screwed directly onto the backplate rather than a threaded bushing. Hoping to salvage this boiler since I just realized how expensive copper is :)